A "Hello World" for game development
| Tags: game development
I've been trying out a few HTML5 game frameworks these holidays, and I'd like to share my particular "Hello World" for game development: a small game that allows me to quickly learn the basics of a 2D game engine or framework.
It is a space shooter, most of it taken from DIV Games Studio's manual, and the rest tweaked to try out more essential features of game development.
You can see the final result at Space Shooter HTML5, which I made using the Phaser library.
Now into the actual steps and why! If you want to give this a try, you can grab the image assets I use from the Github repository.
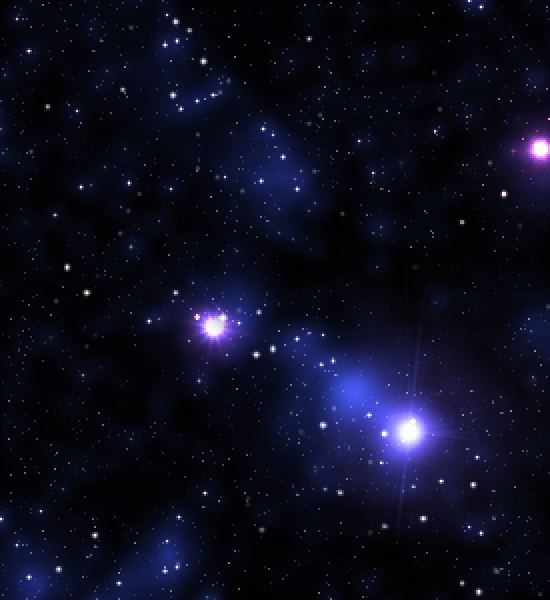
Step 1: Paint a background
The first step to create this 'hello world' space shooter is to setup a blank new project with the engine or framework of your choice, create a window and paint an image filling the screen. With this we learn how to:
- Setup a new project with our framework (download the lib and other required software, include the lib in our code, configure our compiler or editor, etc.)
- Load an image: images are probably the most important assets in videogames!
- Create a new window or change the screen mode
- Draw an image: probably the most essential operation
Step 2: Add a ship
The next step is to add the ship the player will be controlling using the arrow keys (or WASD, or whatever you find suitable). The specific goals are:
- Create a sprite or a game entity and draw it on the screen, with properties like position and the image it's using. Most game frameworks provide this type of entity in their API, but some minimalistic ones (like Gosu) don't.
- Gather player's input from the keyboard.
- Figure out how to move stuff. It is not simply changing the sprite's coordinates, you need to get to know how time is actually controlled by your game framework: you might have a delta time1 you can use along the ship's speed to calculate position; other frameworks handle delta time transparently for you and allow you to. Mind that sometimes you won't have any of this and will need to calculate the delta time on your own.

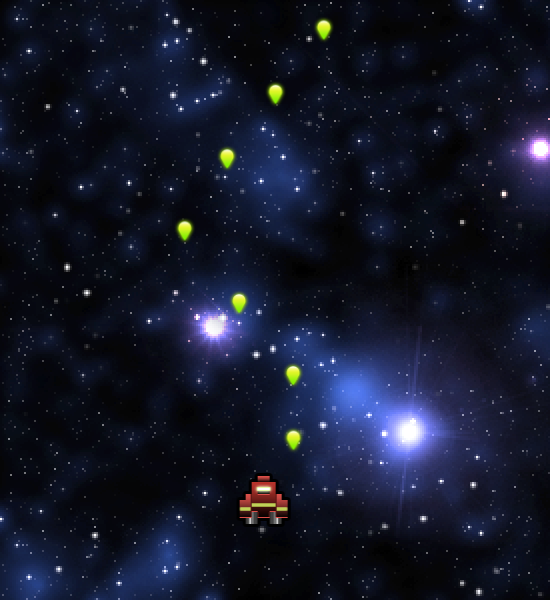
Step 3: Make the ship shoot
Now you need to give the player the ability to shoot when she presses a key. Then, a bullet will come out of the ship and will move upwards until it goes out of view. Goals for this step are:
-
Manage a list of sprites: usually managing a single sprite is easy, but in a game we always have a bunch of sprites of the same type simultaneously on the screen –enemies, bullets, coins, etc.
-
Destroy sprites: the game will start to get slower and slower if we don't destroy the sprites that are not needed anymore (we are running out of memory here!). You need to actually get rid off the bullets that are not visible anymore —find out how.
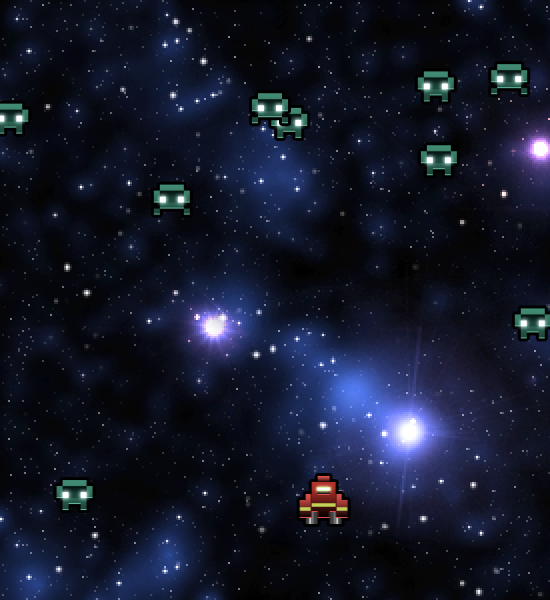
Step 4: Add enemies
This step is very similar to the previous one, but instead of adding sprites that will move upwards, we will create sprites that will move towards the bottom of the screen. In my version I add some random horizontal movement as well, so they are not "raining". The enemies are also spawned randomly.
The new thing here is that these sprites are animated. I use a minimal spritesheet2 like this one:
![]()
So the only new goal here is:
- Learn how to load and use a spritesheet in your sprites to achieve animation.
Step 5: Kill those bastards!
This is the fun part of this game: killing enemies. This step is very interesting because there are different techniques to detect collisions. At this stage, I opt for whatever the framework has implemented, or circular bounding boxes if I have to roll out my own solution.
Once you have the collisions bit sorted out, the destroying part should be easy, since you already did that for the bullets in step #3. So, again, only one goal in this step:
- Handle collision detection: again, a must in most videogames, specially arcade ones. This is use to kill enemies, take damage from them, collect pickup items (like coins or rings), etc.
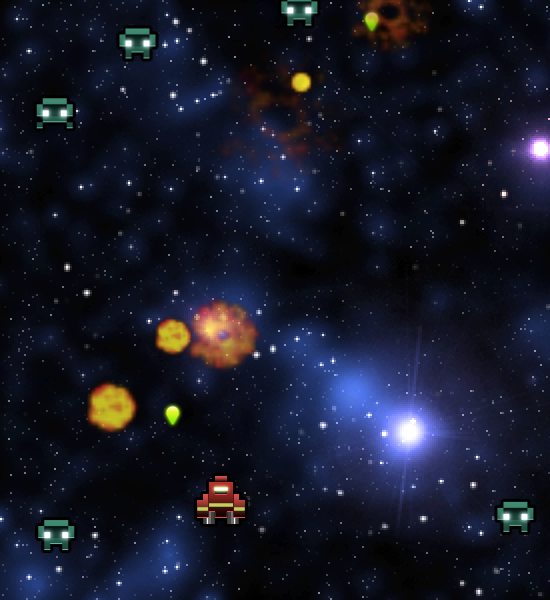
Step 6: Add explosions
Explosions are not really needed, but they provide satisfaction to the player. I take advantage and try more sprite properties here, like alpha (transparency), scale, rotation and blending modes. A method for tweening is needed here, since the idea is to make the explosion grow and vanish with time. The goal:
- Experiment with some sprite properties, like alpha, and tween between full opacity to full transparency in the lifespan of the explosion.
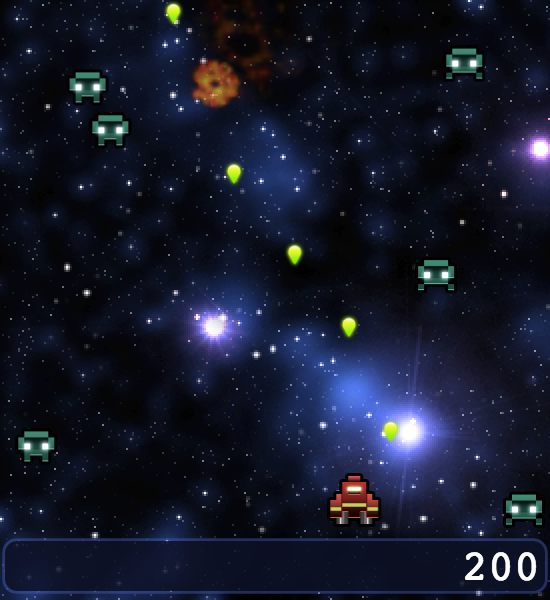
Step 7: Display the score
Having a score will give the player motivation to play harder and better. It also give us the chance to learn how to render text within our engine.
There are two approaches for text: either you use actual fonts (TrueType fonts like the ones you have installed in your computer, like Arial or Courier New), or you use what we call bitmap fonts, which are a spritesheet containing the alphabet. It doesn't matter which way you opt for, just take the one your engine supports more easily. The goal is then:
- Load a font and render some text in the screen: all games make use of it, although some games require a more complex text rendering system, specially if they require the use of paragraphs / multiple lines!
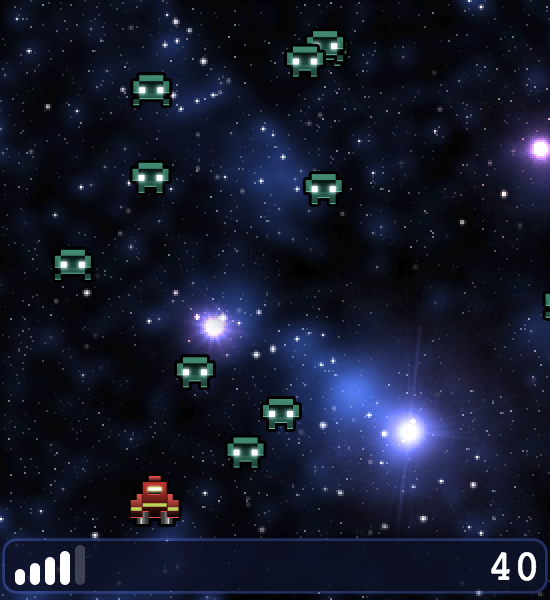
Step 8: Display an energy bar and add "Game Over"
This game is not fun since there is no way the player is in danger. So here we will make the ship die whenever it takes enough damage from colliding enemies, and then stop the game. This game over could be some text and then restarting the game, or you could just make the application quit.
However, to learn something new here, I like to add an energy bar to display the ship's health. There are several techniques to achieve this, but I opt for image clipping, since it has so many uses in games.
- Learn how image clipping works and use this technique to add an energy bar.
- Add a game over condition and either quit or re-start the game when this happens.
Step 9: Play some samples
We have used image and font assets, but we still haven't learnt how to use audio assets in our game. It is time to fix that, and you will find out that even simple audio assets can greatly improve a game. ALWAYS use audio, even if it's just a prototype or an entry for a 48-hour game jam… it is always worth it!
In this step, grab some audio samples for shots and explosions, load them and play them. If you have a background music track, play it to!
- Load and play audio assets: a must in any game.
Step 10: Build a release!
Now that the game is finished, it's time to make a release so others can play. This varies deeply depending on the platform, and it can be as easy as uploading some files to a web server, or it can involve signing your game with a developer certificate, or…
- Generate a release of your game and have someone else to try it. It might not work in their systems and you might need to tweak a few things!
- This is the time that has passed between the last frame and the current frame. Since you probably want to express an entity's properties in terms of actual seconds (for instance,
pixels/secondsfor speed), this is a must. - Spritesheets are a popular game development technique. Instead of loading multiple images separately, you build a single image containing the smaller ones, like patchwork. This is much more efficient, and makes things like animation logic easier. If you are into web development, this technique is what "CSS Sprites" are named after.